Photo montage: the design in a photograph of the plot
A photograph of the plot, the model in it. Mark four to eight point pairs, the photo’s camera is solved, and the image model sets the design into the picture – the rest of the photograph stays untouched.
1, 4 or 8 points per picture, like an exterior
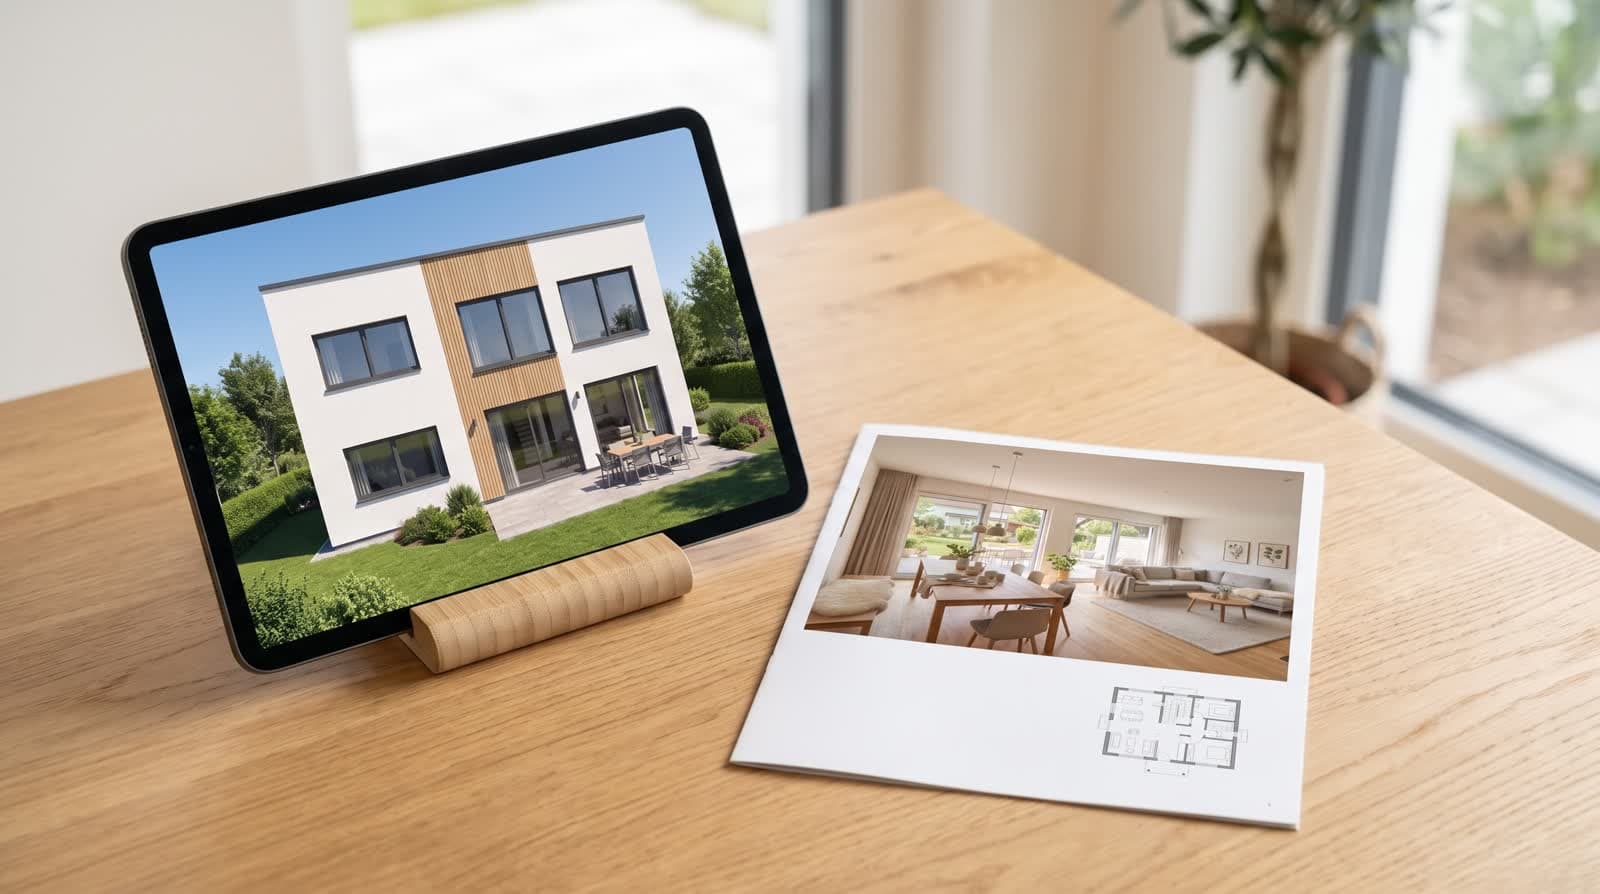
In short
With the photo montage, VEDUTUM places the model built from the floor plan into a photograph of the real plot. You upload the photo, align the model roughly and mark corners of the model and the same corners in the photo. From four pairs the software solves the camera’s position, direction and tilt, from six its focal length too; the error per point is shown in pixels. Photo, grey model view, silhouette mask and depth map go to the image model, which renders inside the silhouette only. The result opens as a before/after slider, on the share page as well.
What it gives you
The real surroundings, not invented ones
Street, neighbours, trees and light come from the photograph. The image model may only render the building; outside the mask every pixel of the photo stays.
A camera from point pairs, not from feel
Four pairs fix position and direction, six the focal length as well. The error per pair shows whether the solution holds.
Before and after on one page
The share page shows photo and montage in one wipe. Clients and neighbours see what changes – and what does not.
Remove what goes
An old building or shed that will be demolished can be marked as an area; the image model replaces it with the continued surroundings.
How it works
- 01Upload the photoIn the “Photo montage” tab choose a JPG, PNG or WebP, ideally taken from the pavement or the neighbouring plot with the horizon in the frame. The browser shrinks the file to 2000 pixels; date and focal length are taken from the EXIF data.
- 02Align the model roughlyTurn and zoom with the mouse, pick the angle of view with the focal length slider (18 to 85 mm) and drag the dashed line onto the horizon of the photo. The model lies over the photo, half transparent with dark edges.
- 03Set point pairsTool “Point in model”: click a corner of the house, it snaps to the nearest edge. Then “Point in photo”: click the same corner in the photograph. Four to eight pairs on different edges, not all on one line.
- 04Solve the camera“Solve camera” computes position, direction and tilt, from six pairs the focal length too, and shows the error of every pair in pixels. A pair with a large error is usually misplaced: remove it and click again.
- 05Remove existing structuresIf something should disappear from the photo, click a polygon over it with “Remove existing” and close the area. It joins the mask.
- 06Produce the pictureChoose the quality level and “Produce picture”. The result opens as a before/after slider; on the share page it stands under “On the plot”, with download and remarks like any picture.
What the browser does and what the image model does
The camera is solved in the browser without a model call: a small least-squares fit over position, rotation, tilt and angle of view, with roll fixed at zero because a photo of a plot is held level. From the solved viewpoint three pictures are made in the photo’s aspect ratio: the photo with the grey model and its shadow, the model’s white silhouette on black, and the depth map.
These three go to the image model with the instruction to render inside the silhouette only and to take light, colour, sharpness and grain from the photograph. Whether the image model keeps the boundary exactly cannot be promised; the instruction is strict, and the comparison with the original shows deviations at once.
Photographs that work well
Pictures at eye level with a visible horizon, without strong wide-angle distortion and without zoom beyond 85 mm. Corners that are sharp in the photo: plot boundaries, neighbouring buildings, fences, kerbs. The wider the pairs are spread across the frame, the more stable the solution.
Blur people and number plates before uploading: the photo goes to the image model and is shown on the share page. What we process is described in the privacy policy under “Fotos des Grundstücks”.
Questions and answers
How many point pairs do I need?
Four, so that position and direction are determined; from six the focal length is solved too. More pairs on different edges make the solution more stable.
What does a photo montage cost?
The same as an exterior picture at the chosen quality level: 1, 4 or 8 points. Uploading, aligning and solving the camera cost nothing; that happens in the browser.
Does the photo really stay unchanged?
The image model receives the silhouette as a mask and the instruction to change nothing outside it. Small deviations are possible; the before/after slider makes them visible.
Can I remove a building from the photo?
Yes. With “Remove existing” you outline it as an area; it becomes part of the mask and the image model continues the surroundings there.
From the knowledge base
More features
Next step
Bring a photo of the plot
A test account has 30 points, no payment details. Read a plan, upload a photo, click four corners.